Requirements
- Railway account
Resources Created
| Resource Type | Comments |
|---|---|
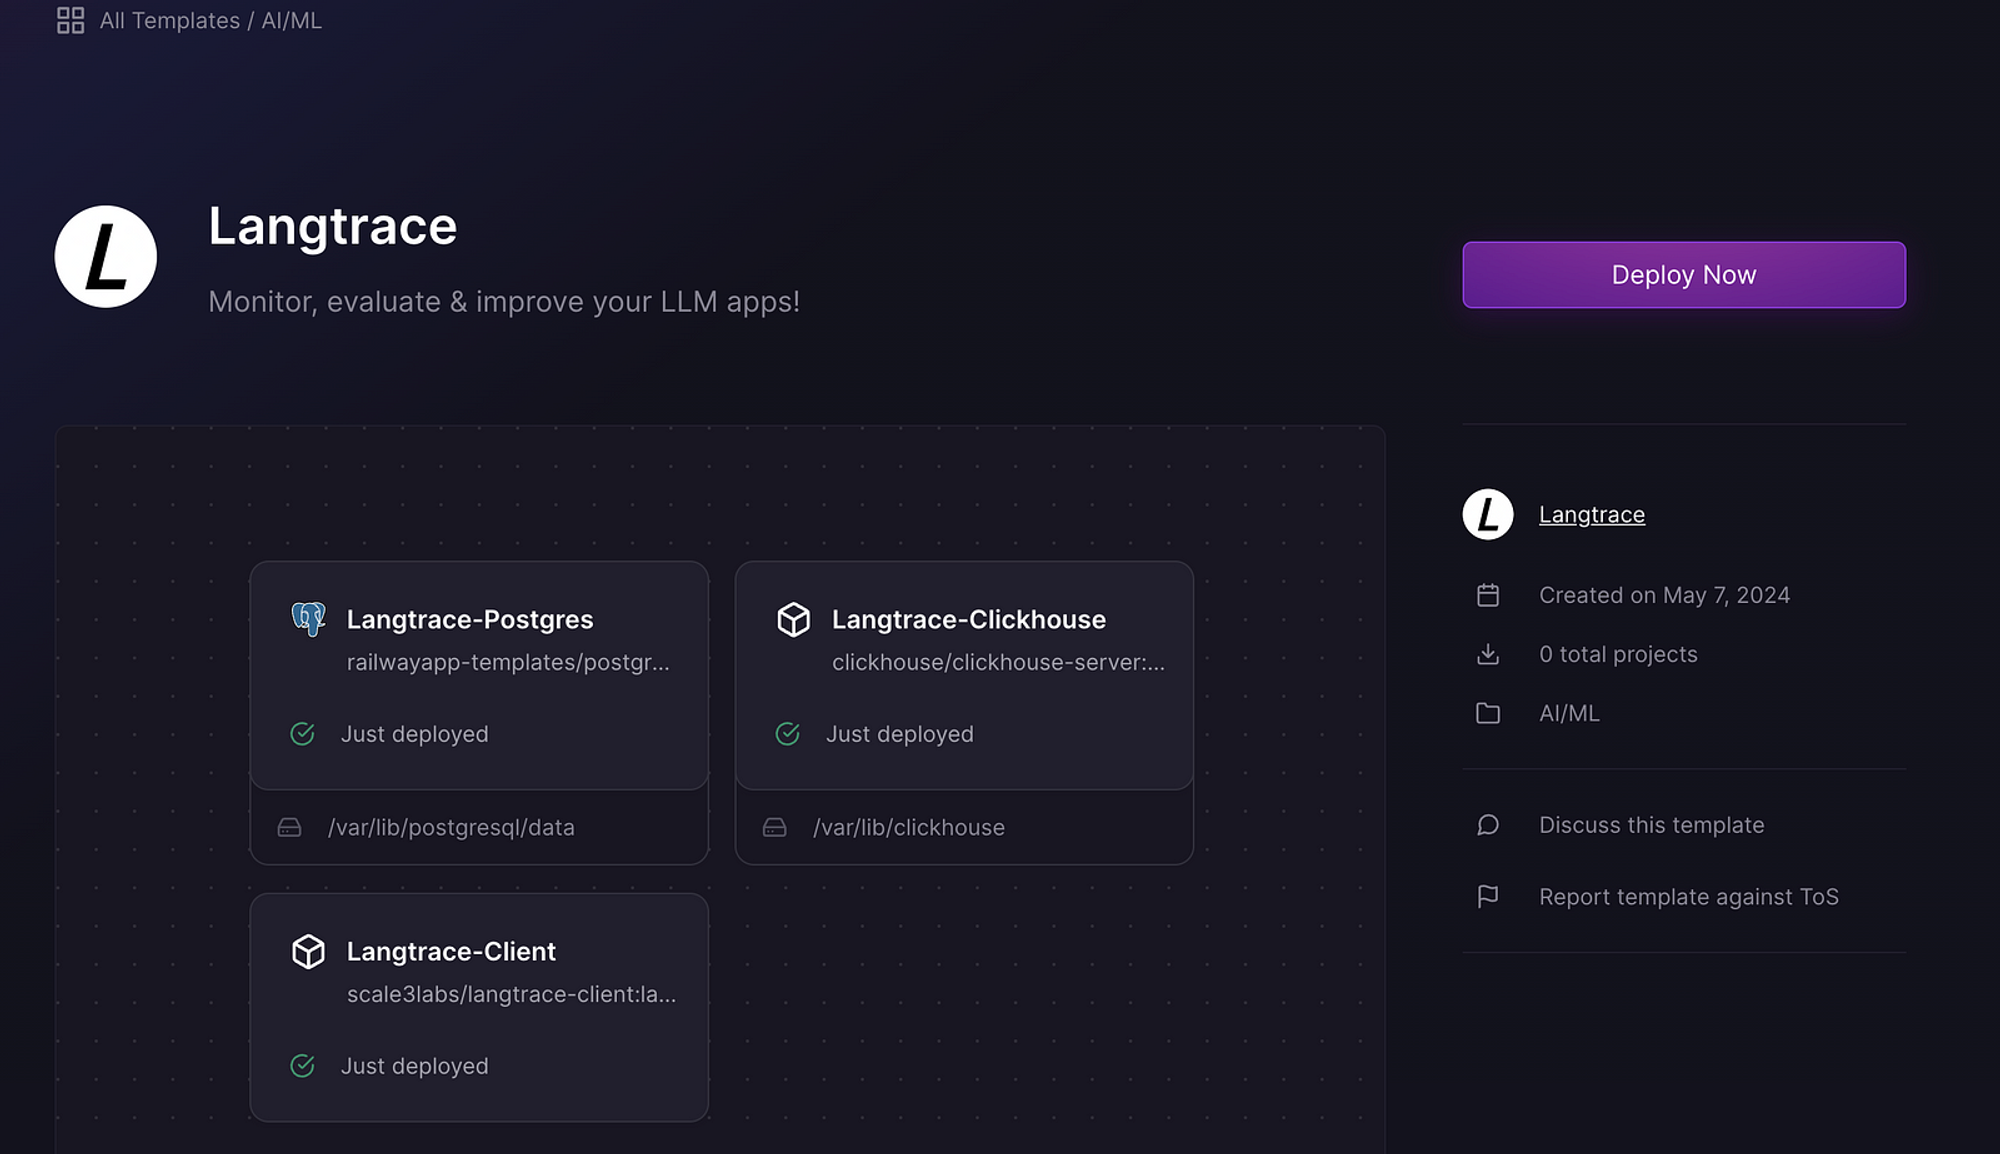
| Clickhouse Service | To store traces. |
| Postgres Service | For login and dataset related info. |
| Langtrace Client | Langtrace app with frontend. |
Setup
Setting up Langtrace on Railway is now effortless. Just follow these simple steps:Step 1: Open the Railway Template
- Navigate to the Langtrace GitHub repository and locate the “Deploy on Railway” button within the README file.

- Clicking on this button will direct you to the Langtrace Railway template deployment page.

Step 2: Configure Authentication
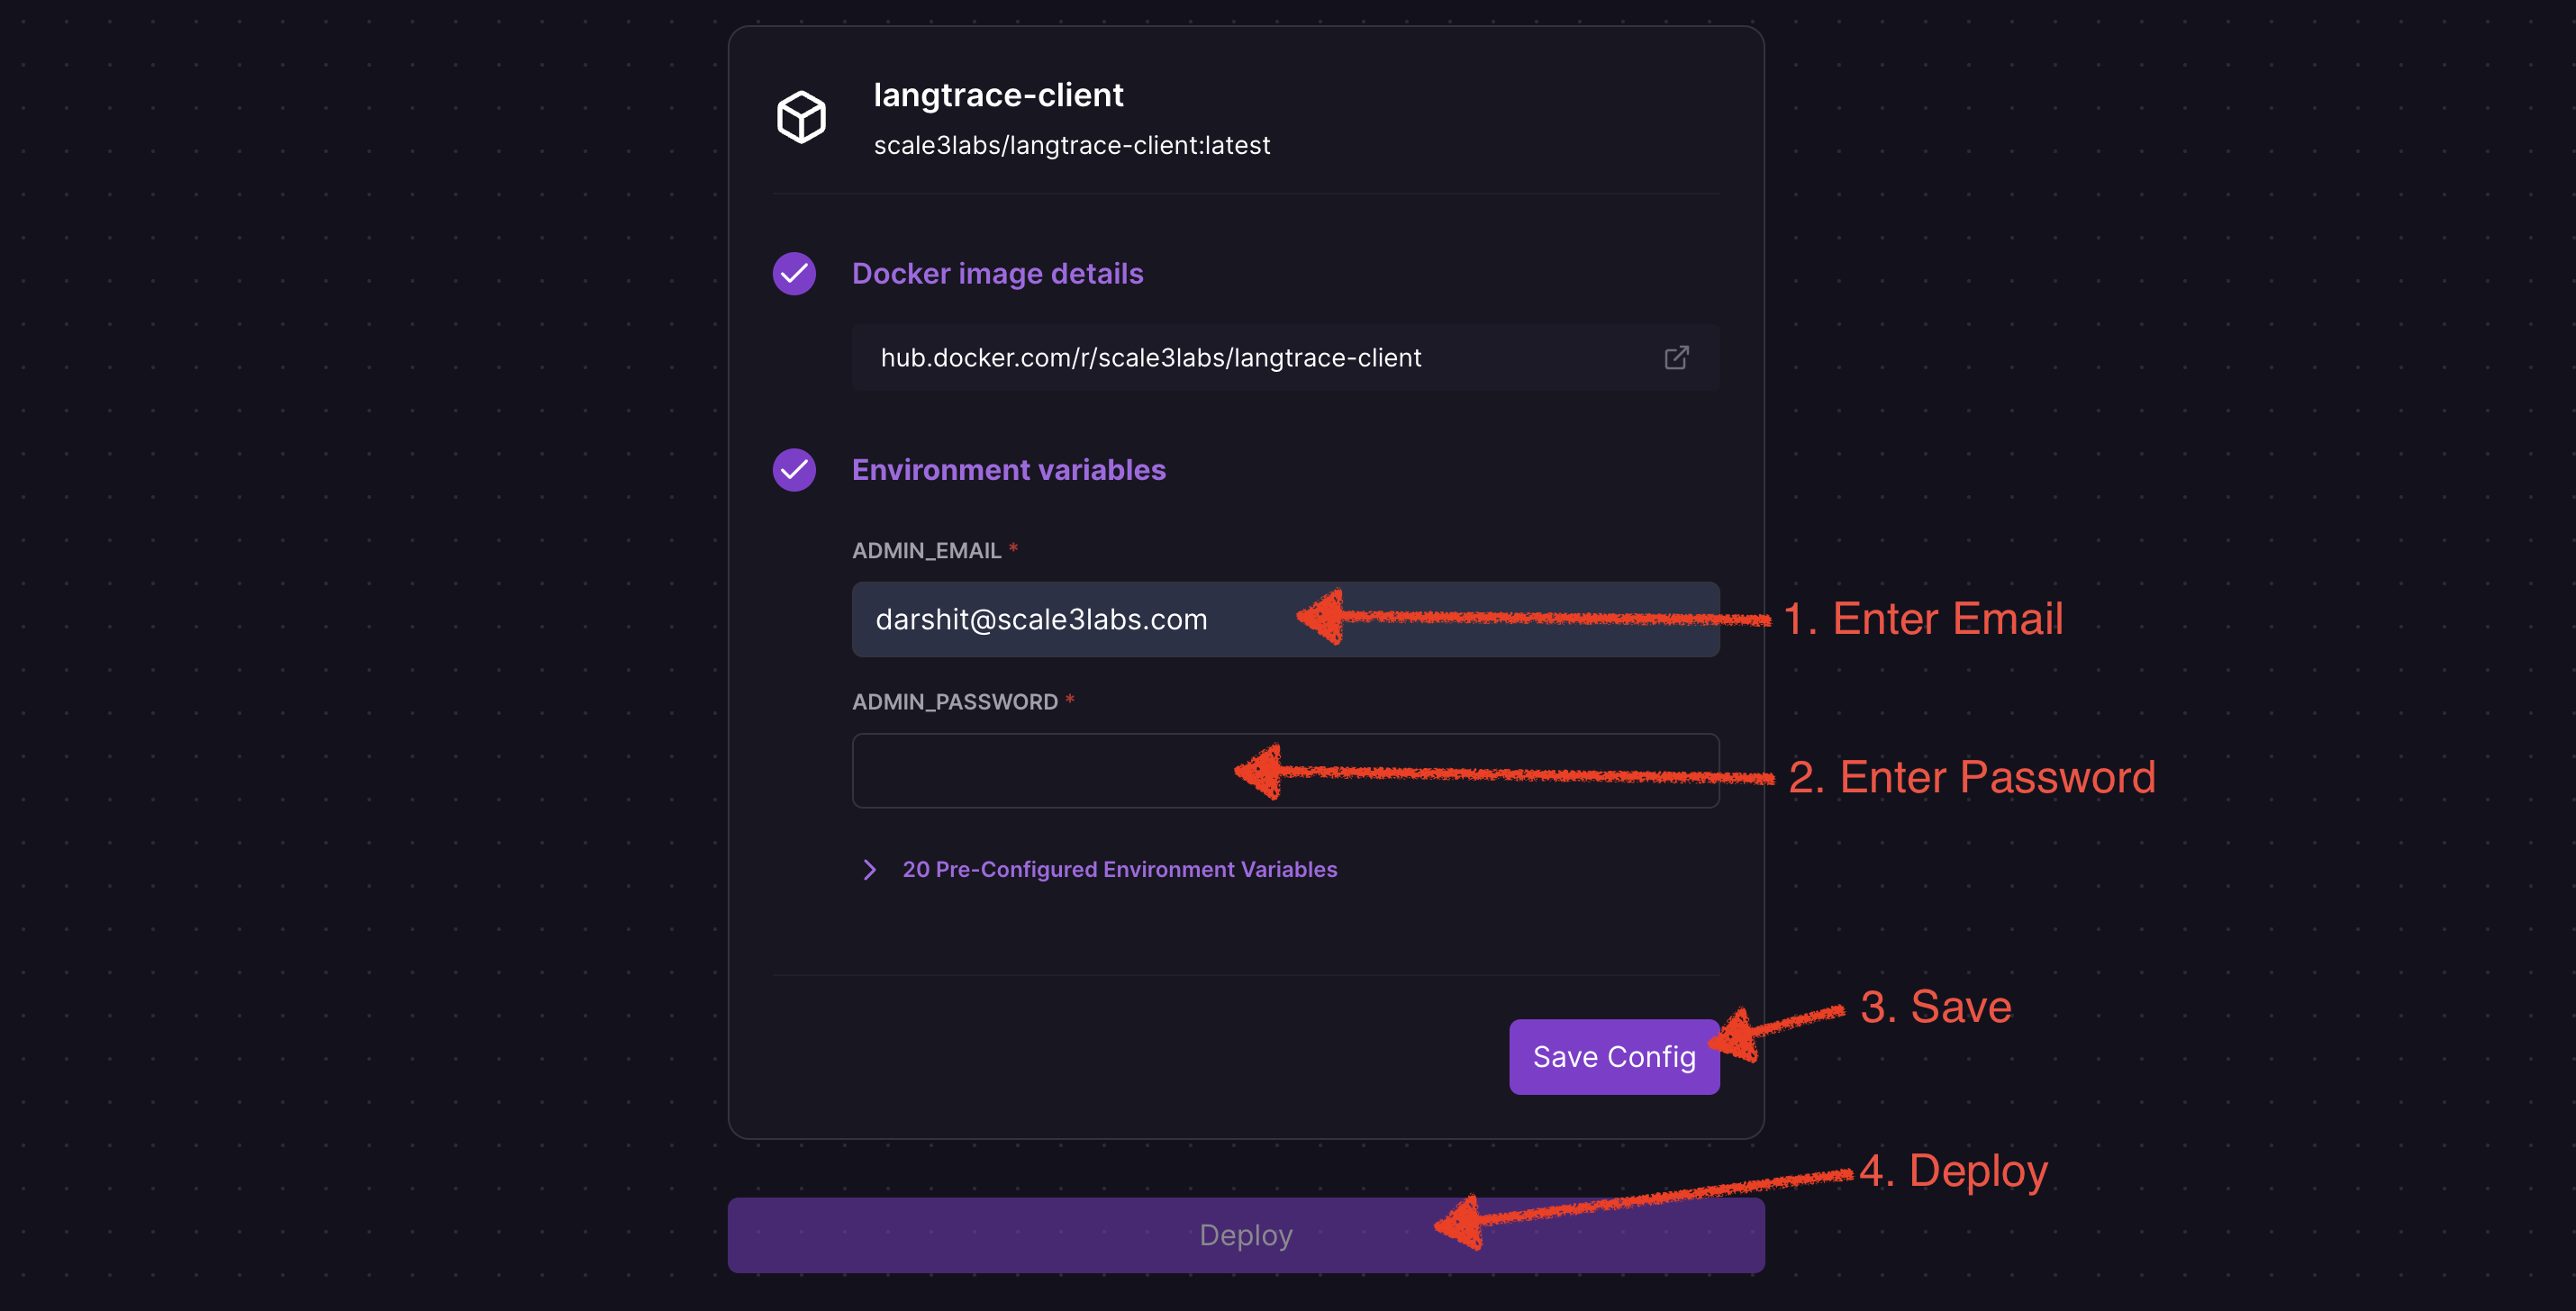
When deploying the template, you’ll need to set up authentication for your Langtrace instance:- Click “Configure” on the
langtrace-clientservice. - Add the following authentication-related environment variables:
ADMIN_EMAIL: Your desired admin emailADMIN_PASSWORD: Your desired admin password
- For additional authentication methods (e.g., Google OAuth, Azure AD), you can add the necessary environment variables here as well. Refer to our Authentication guide for detailed instructions on configuring other authentication methods.
- Click “Save Config” → “Deploy”.
Step 3. Deploy the Template
- Click on the “Deploy Now” button.
- Click “Configure” on
langtrace-clientservice and add admin email and admin password and click “Save Config” → “Deploy”.
Step 4. Access Langtrace
-
Once you start the deployment process, it may take around two minutes for Railway to bring up the services.
If you want you can check the deploy logs of a particular service by clicking on the service and click “View Logs” under the Deployments tab.

-
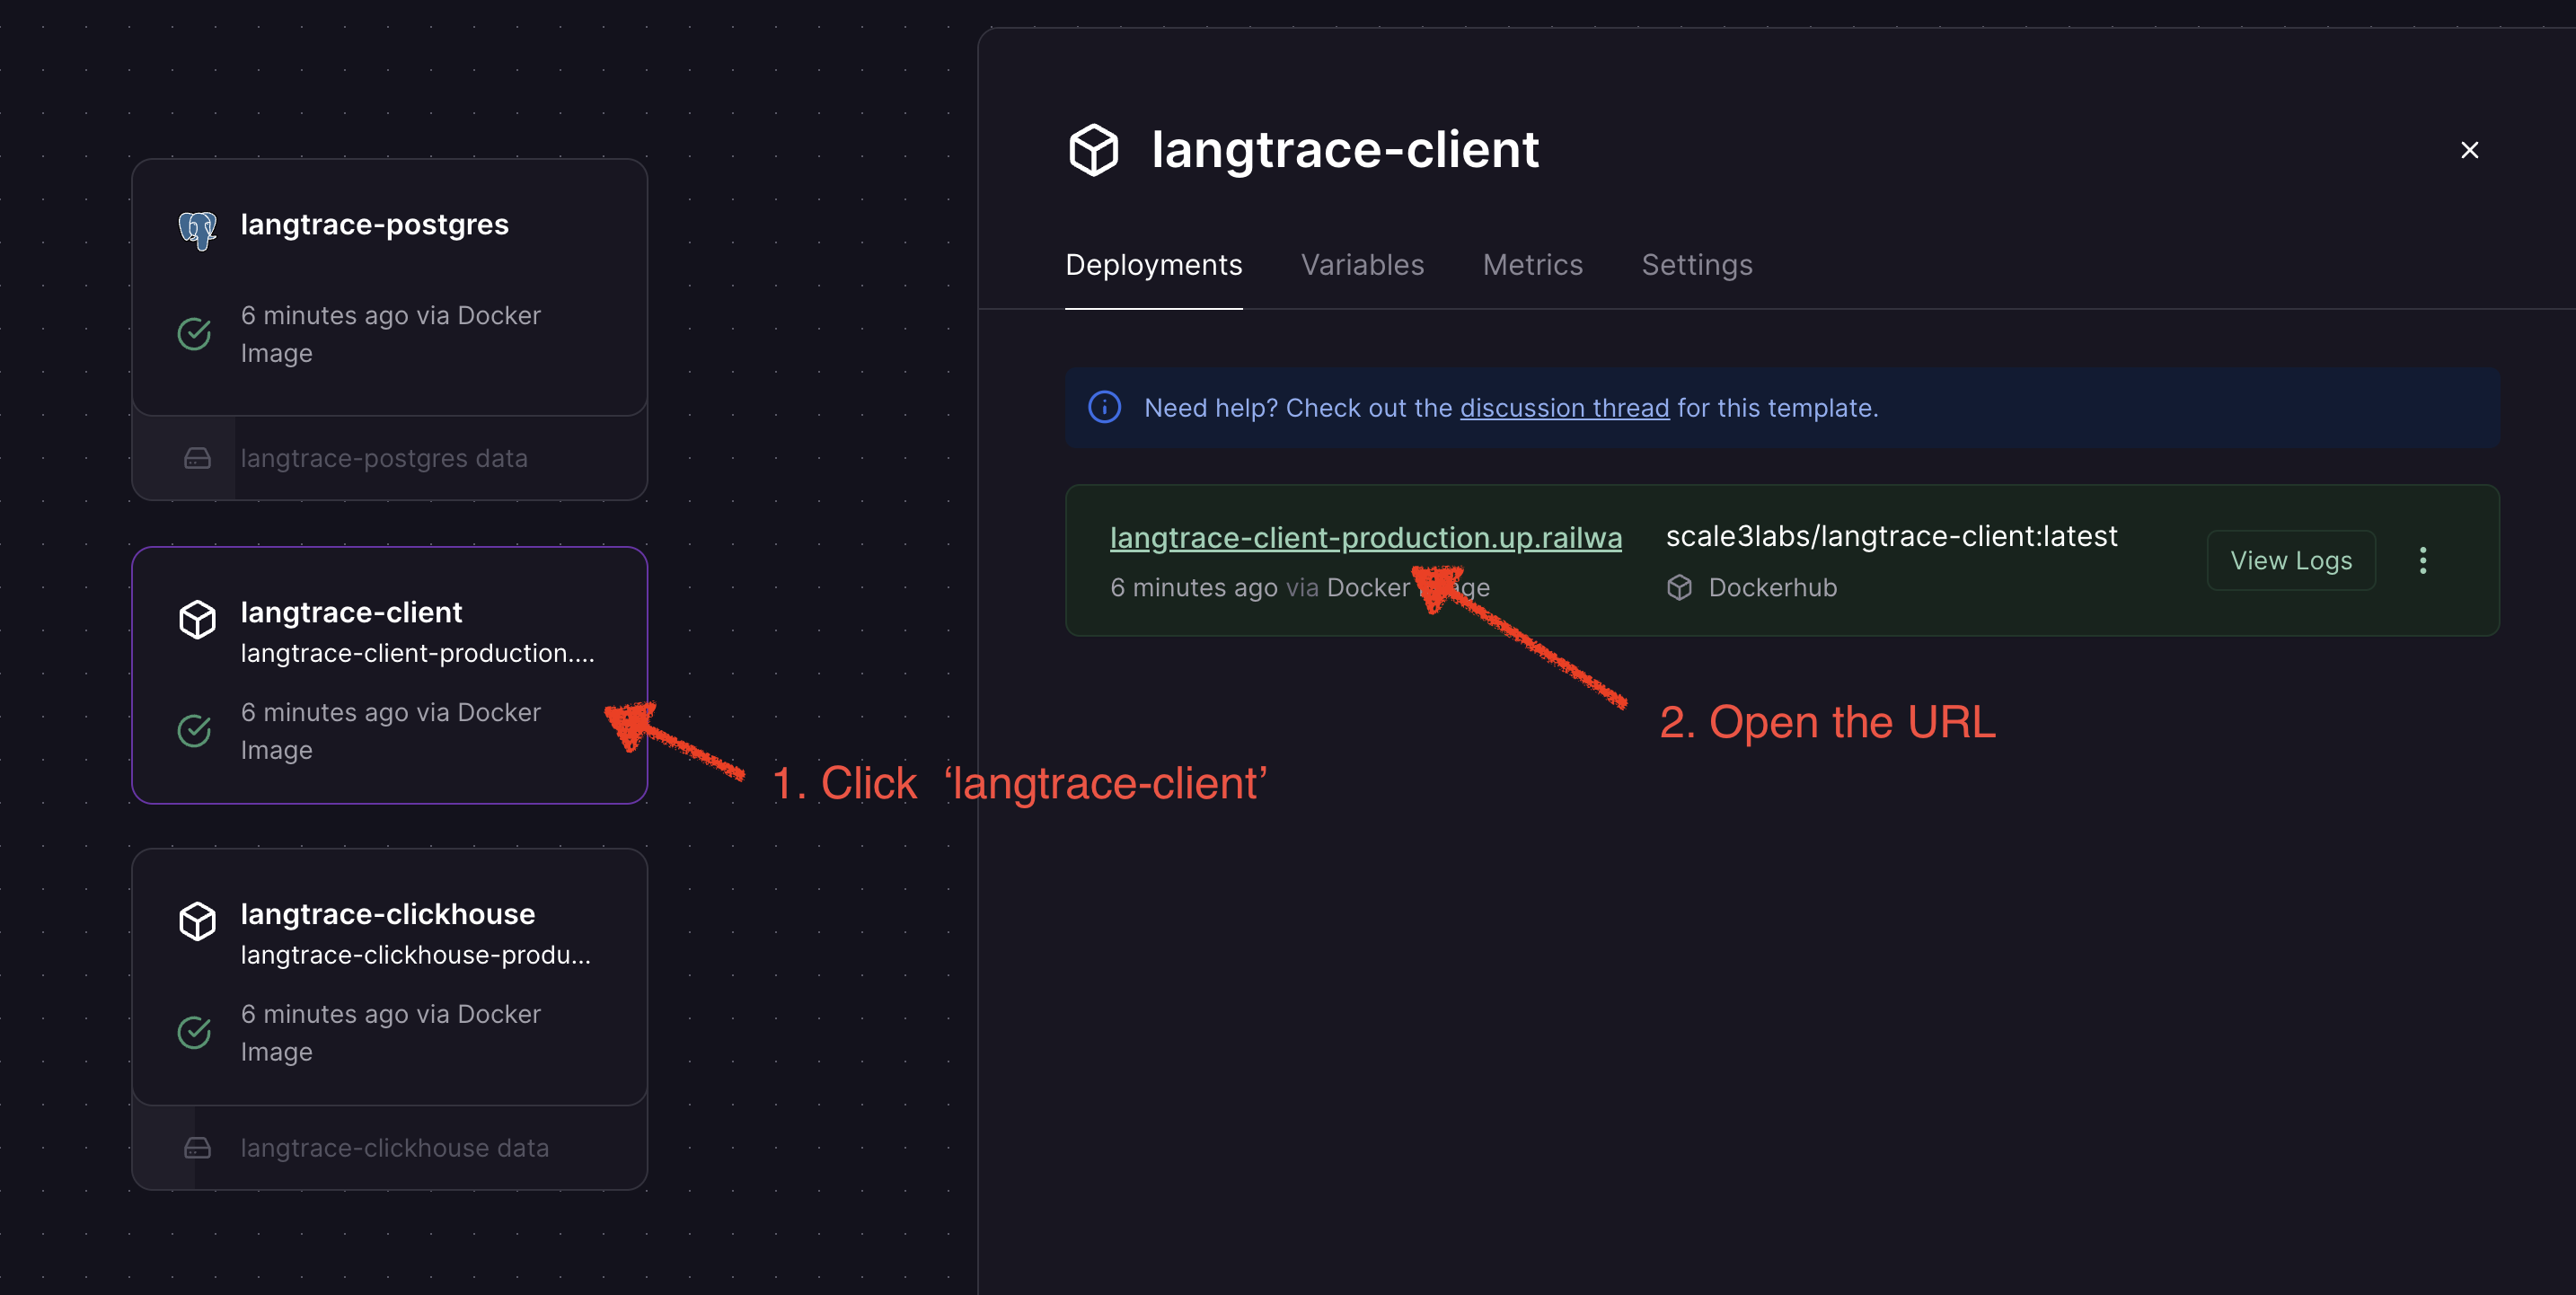
Once all services are healthy, click on ‘langtrace-client’ service and open the URL to access the self-hosted Langtrace application.

Cleanup
To cleanup the resources, click on Settings —> Danger Zone —> Delete Project.Troubleshooting
Clickhouse service keeps restarting or crashing
Clickhouse service keeps restarting or crashing
This generally occurs due to low memory allocated to the clickhouse service.
You can increase the memory allocated to the clickhouse service. This may
require you to upgrade your Railway plan from the free tier.
Update Langtrace version
Update Langtrace version
Click on the 
langtrace-client service —> you should be in Deployments tab —> Select Redeploy in the option of the active deployment to allow Railway to pull the latest version of the Docker image.ORClick on the langtrace-client service —> go to Settings tab —>
disconnect —> connect image —> change source image to any version of your choice —> Click Deploy
For example: scale3labs/langtrace-client:1.3.1